Showing posts with label Windows. Show all posts
Showing posts with label Windows. Show all posts
Monday, 5 September 2016
PCem v11 + all BIOS images
PCem (short for PC Emulator) is a virtualization software and IBM PC emulator for Windows and Linux that specializes in running old operating systems and software that are designed for IBM PC compatibles. Originally developed as an IBM PC XT emulator, it later emulates other IBM PC compatible computers as well.
Download PCem v11 + all BIOS images
Monday, 1 August 2016
Microsoft's latest Windows 10 Insider preview build could be RTM

Microsoft executives are not in favouring of using release to manufacturing – RTM or RTW – release to Web, anymore since Windows 10 is a constantly updated service though several of the users still tend to use the RTM convention in referring to the build which eventually will go to `normal’ who are not in the Windows Insider program. Few have been wondering that the present Windows 10 Anniversary Update test build for PCs and mobile could be the RTM release.
The officials of Microsoft would no longer be calling any of these test builds `RTM’ nor would they likely let anyone know which of these near-final test builds are `soup’. In the case of the update of Windows 10 of November, Microsoft had released the RTM build on November 5 and that release, the first major update to Windows 10 had been commonly available on November 12.
RTM On Windows 10 PCs
Sources have informed that the internal goal of Microsoft is to sign off on an Insider preview test build by July 20to have the second main update to Windows 10, the Anniversary Update and ready to be made available on August 2 on PCs, phones, tablets together with other device as intended. The 14393 preview build has no new features though has some remaining resolutions for both phones and PCs.
Windows Insider chief Dona Sarkar, in the notes regarding the new build, states that those having problems with their cameras on Surface Pro 4 and Surface Book while running the new Insider builds need to see a driver update in order to fix this soon through Windows Update.
Being part of the Windows Insider program provides the user with early access to Windows 10 updates through its different phases of its growth much after its release. Most of this analysis is based on the build 10240 which had been available on July 15 and is a Release to Manufacturing – RTM version. RTM would also be on Windows 10 PCs and could be purchased online or in-store.
RTM – No `Windows 10 Insider Preview’ Text on Desktop
RTM does not seem to have the typical `Windows 10 Insider Preview’ text on the desktop and also tends to have been released to all in the Windows Insider program even those who did not want the new updates. Even when Windows 10 is released, the Windows Insider program tends to continue and Microsoft will release Windows 10 updates, first to the members of the program.
Though it seems natural that Windows 10 is well-thought-out as `finished’ by reviewers and consumers. Microsoft does not subscribe to this point of view and states that it would carry on developing the OS with additional tweaks.
Friday, 19 December 2014
How to Unroot Nexus 6! Windows/Mac/Linux/Ubuntu

Check Out How to Unroot Nexus 6 on Windows Video Below!

Check Out How to Unroot Nexus 6 on Mac Video Below!

This guide will completely remove any signs of root, custom recovery, modding, and will even unbrick the Nexus 6 and remove any and all personal information!
Note: This will remove all personal information from the Nexus 6! Backup any and all important information that you don't want to lose!!
Follow the guide below to completely unroot the Nexus 6!
1. Power off the Nexus 6.

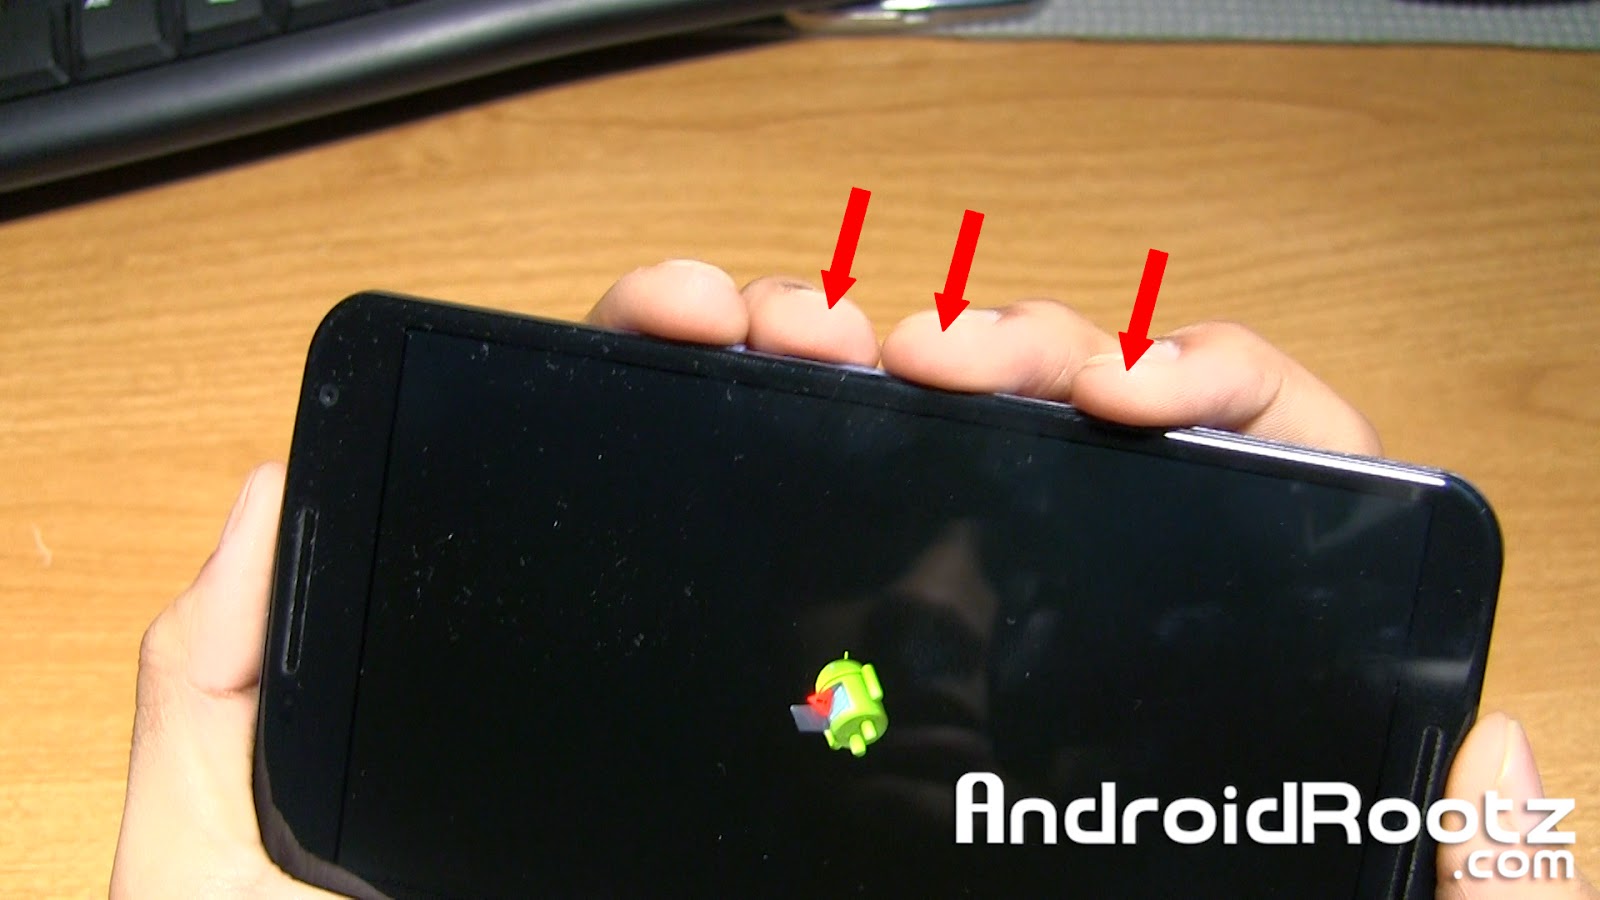
2. Press and hold the power button and volume down button at the same time until you see a green "Start" on the screen.


3. Plug in your phone via microUSB.

4. Download and unzip UnrootNexus6.zip using the download link below.
Download UnrootNexus6.zip

5. Move the unzipped folder "UnrootNexus6" to your desktop!

If your on Mac/Linux/Ubuntu skip step 6!
6. Open up "Device Manager" on your Windows computer. If you see "Android USB Devices" with a yellow triangle next to it install the drivers that are included in the UnrootNexus6 folder. If you see "Android Single ADB Interface" in the drop down tab with no yellow triangle move to step 7.

7. Open Command Prompt on Windows or Terminal for Mac/Linux/Ubuntu. Follow the commands below and press enter after each line:
Windows:
cd Desktop
cd UnrootNexus6
fastboot flash bootloader bootloader-shamu-moto-apq8084-71.05.img
fastboot reboot-bootloader
fastboot flash radio radio-shamu-d4.0-9625-02.55.04.img
fastboot reboot-bootloader
fastboot flash system system.img
fastboot flash userdata userdata.img
fastboot flash boot boot.img
fastboot flash recovery recovery.img
fastboot erase cache
fastboot flash cache cache.img
fastboot oem lock
Mac:
cd Desktop
cd UnrootNexus6
./fastboot-mac flash bootloader bootloader-shamu-moto-apq8084-71.05.img
./fastboot-mac reboot-bootloader
./fastboot-mac flash radio radio-shamu-d4.0-9625-02.55.04.img
./fastboot-mac reboot-bootloader
./fastboot-mac flash system system.img
./fastboot-mac flash userdata userdata.img
./fastboot-mac flash boot boot.img
./fastboot-mac flash recovery recovery.img
./fastboot-mac erase cache
./fastboot-mac flash cache cache.img
./fastboot-mac oem lock
Linux/Ubuntu:
cd Desktop
cd UnrootNexus6
./fastboot-linux flash bootloader bootloader-shamu-moto-apq8084-71.05.img
./fastboot-linux reboot-bootloader
./fastboot-linux flash radio radio-shamu-d4.0-9625-02.55.04.img
./fastboot-linux reboot-bootloader
./fastboot-linux flash system system.img
./fastboot-linux flash userdata userdata.img
./fastboot-linux flash boot boot.img
./fastboot-linux flash recovery recovery.img
./fastboot-linux erase cache
./fastboot-linux flash cache cache.img
./fastboot-linux oem lock

8. Unplug your phone and press the volume down up you see "Recovery mode". Then press the power button.

9. You might see a Android figure laying down with a red triangle. To fix this press the volume up, down, and power button at the same time for 5 or 6 times in a row until you see text on the screen.

10. Once you see text on the screen navigate down to "wipe data/factory reset" and select "Yes -- delete all user data". You can navigate by using the volume up/down and power button. This will take about 5 minutes, be patient!


11. Navigate to "wipe cache partition" and select it.

12. Lastly, select "reboot system now".

13. Now your phone will fully boot up with the setup screen, just like the day you first bought the Nexus 6! All signs of rooting, ROMS, custom recoveries, or modding has been completely removed!

FAQ:
Q: I just finished the last step, is it safe enough to send back to the manufacture/carrier?
A: Yes, completely! You have fully unrooted the Nexus 6 and locked your bootloader, you're good to go!
-----------------------------------------------------------------------------------------------------------------------------
Need Help With Your Android Device? Follow Me / Add Me / Like Me
Google Plus
-----------------------------------------------------------------------------------------------------------------------------
Check Out Our YouTube Channel For More Great Guides!
YouTube and Subscribe
-----------------------------------------------------------------------------------------------------------------------------
Thursday, 18 December 2014
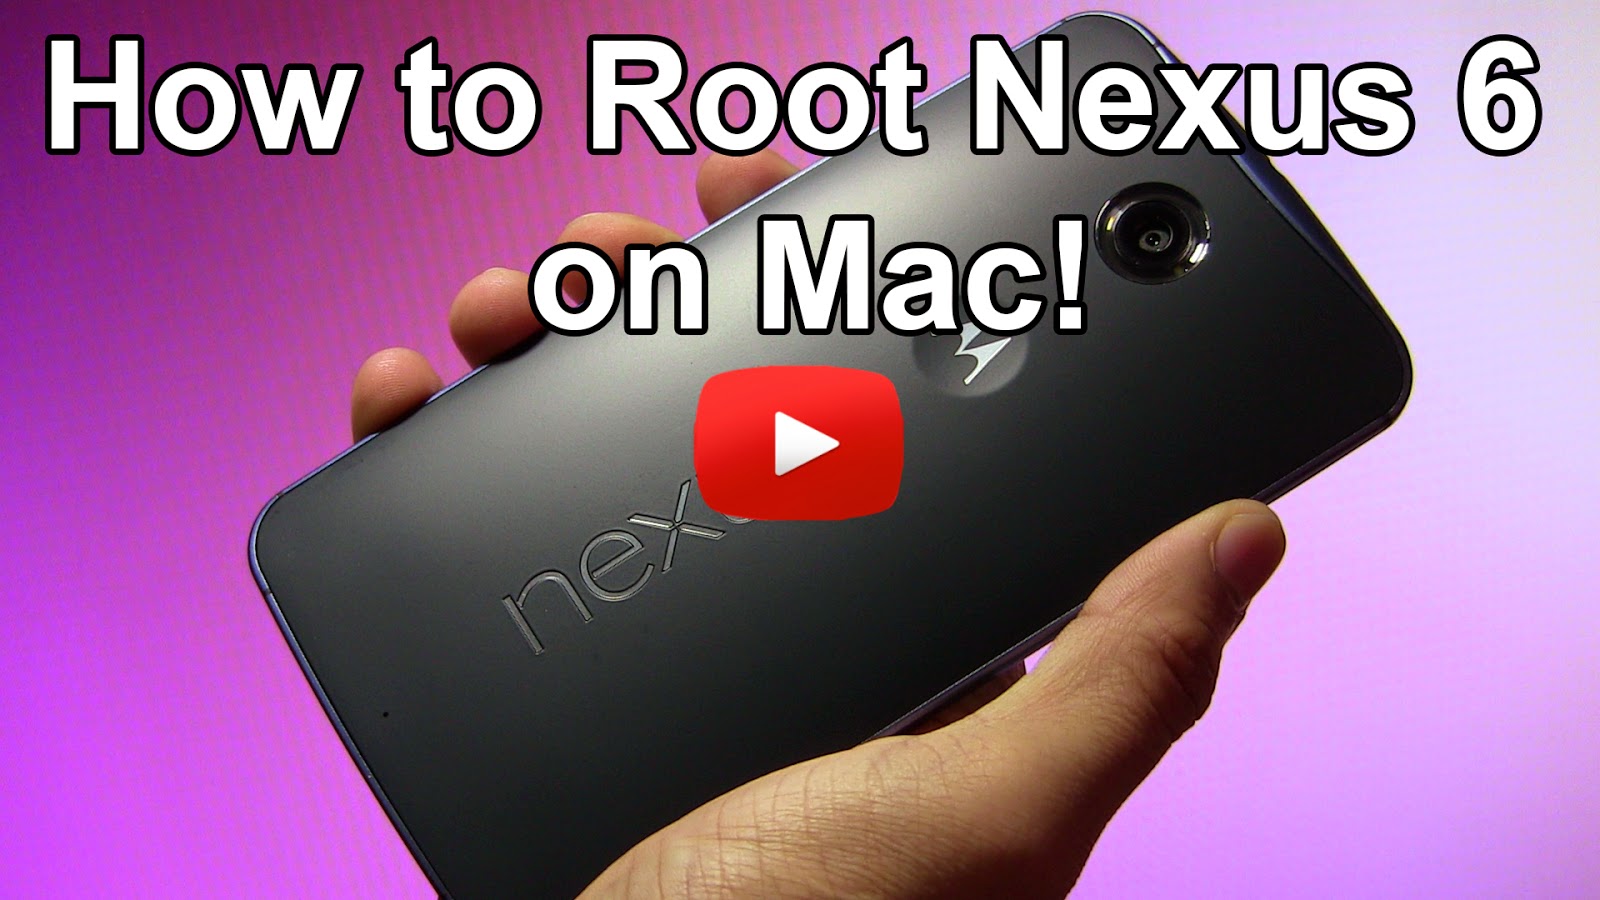
How to Root Nexus 6! [Windows/Mac/Linux/Ubuntu]

Check Out How to Root Nexus 6 on Windows Video Below!

Check Out How to Root Nexus 6 on Mac Video Below!
Rooting the Nexus 6 will open a whole new world for your Android device. You will have access to custom ROMS, MODS, and great root apps like Titanium Backup! With just a few commands your Nexus 6 will be rooted!
Warning: This will remove ALL information on your Nexus 6! Backup any important information!!
Follow the guide below to root the Nexus 6!
1. Go into Settings > About phone and tap on "Build number" 5 for 6 times until it says "You are now a developer!".


2. Press the back button once and choose "Developer options" and make sure that "Enable OEM unlock" is check marked.

3. Power off your phone.

4. Press and hold the power button and volume down button at the same time until you see a green "Start" on the screen.


5. Plug in your phone to your computer via microUSB.

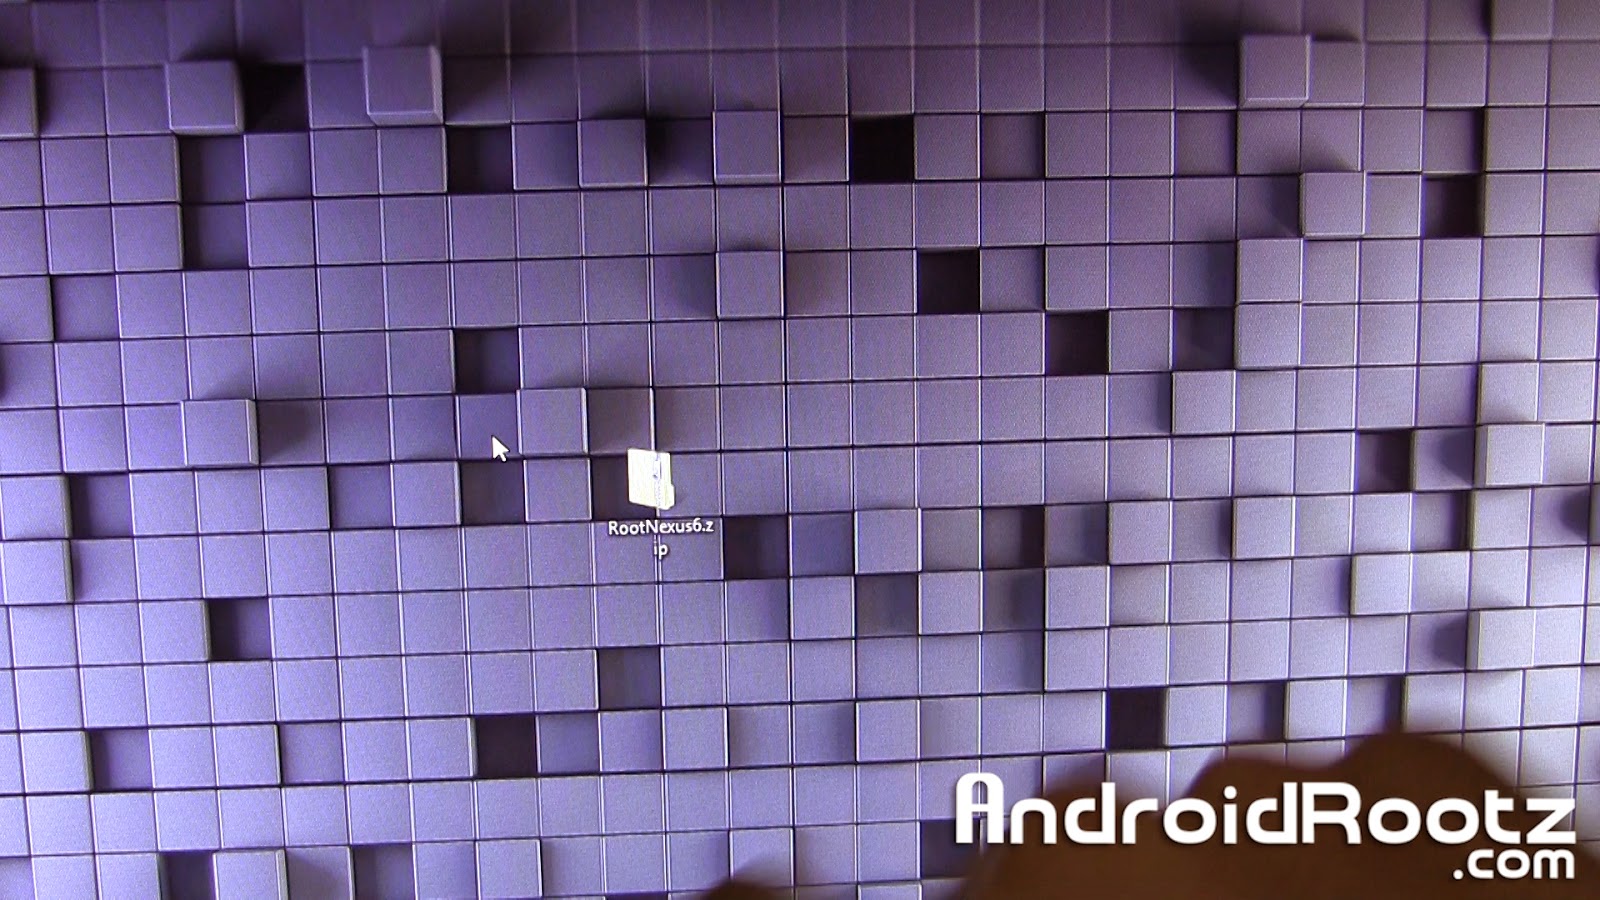
6. Download and unzip RootNexus6.zip using the download link below. Move the folder to your desktop!
Download RootNexus6.zip
Skip step 7 if you're on Mac/Linux/Ubuntu!
7. Open up "Device Manager" on your Windows computer. If you see "Android USB Devices" with a yellow triangle next to it install the drivers that are included in the RootNexus6 folder. If you see "Android Single ADB Interface" in the drop down tab with no yellow triangle move to the next step.
If you don't know how to install the USB drivers Google search it!

8. Open Command Prompt on Windows or Terminal for Mac and Linux/Ubuntu computers. Type the command below and press enter after each line:
Windows:
cd Desktop
cd RootNexus6
fastboot oem unlock
Mac:
cd Desktop
cd RootNexus6
./fastboot-mac oem unlock
Linux/Ubuntu:
cd Desktop
cd RootNexus6
./fastboot-linux oem unlock

9. The Nexus 6 should now display "Unlock bootloader?". Select "Yes" and then press the power button.

10. Press the power button again and your device will now automatically reboot. This boot will take a few minutes since it just did a factory reset! Once it's fully booted up you can setup your phone.

11. Connect the Nexus 6 to your computer and transfer "UPDATE-SuperSU-v2.40.zip". This zip file is located in the RootNexus6 folder.
Mac users can use Android File Transfer to transfer the zip file to the Nexus 6.

12. Enter back into Bootloader mode. Repeat steps 3-5.

If your on Mac/Linux/Ubuntu skip step 13.
13. Open up "Device Manager" again and if you don't see "Android Single ADB Interface" repeat step 7.

14. Go back to Command Prompt or Terminal and type in this command and press enter after each line.
Windows:
fastboot flash recovery openrecovery-twrp-2.8.2.0-shamu.img
Mac:
./fastboot-mac flash recovery openrecovery-twrp-2.8.2.0-shamu.img
Linux/Ubuntu:
./fastboot-linux flash recovery openrecovery-twrp-2.8.2.0-shamu.img

15. We're almost done! On the Nexus 6 keep pressing the volume down until you see "Recovery mode" and then press the power button.


16. You will now see a screen with options like "Install", "Wipe", "Backup", etc. Go ahead and select "Install".

17. Scroll down and select "UPDATE-SuperSU-v2.40.zip".

18. Slide your finger to confirm the installation.

19. Now select "Reboot System" and wait until the device is done booting up. Congrats, you just rooted your Nexus 6!

If you look in your app drawer you will see an app called SuperSU. You can confirm that you have root by installing an app like Titanium Backup and see if you get Superuser request, if you do then your rooted!


FAQ:
Q: Will I be able to install custom ROMS and use root apps after I complete the guide?
A: Yes, you will be allowed to install compatible Nexus 6 custom ROMS and use root apps too! Cool, huh?
-----------------------------------------------------------------------------------------------------------------------------
Need Help With Your Android Device? Follow Me / Add Me / Like Me
Google Plus
-----------------------------------------------------------------------------------------------------------------------------
Check Out Our YouTube Channel For More Great Guides!
YouTube and Subscribe
-----------------------------------------------------------------------------------------------------------------------------
Thursday, 31 July 2014
BitTorrent introduces new 'Bleep' decentralized online Instant Messenger for secure peer to peer communication
BitTorrent the most popular torrent client and the company that develops the peer-to-peer protocol and two popular clients that use it, has announced the release of Bleep, an online communication (voice and text) application that lets users "make a direct, decentralized connection to someone they trust."

Announcing the release of Bleep, Jaehee Lee, a senior product manager at BitTorrent, says that Bleep can freely be used by journalists that want to keep their sources anonymous, diplomats looking to keep their reports private, and businesses that need to keep their communications safe from industrial spies.
What makes Bleep different is that unlike traditional messaging services, where a chat app establishes a Session Initiation Protocol (SIP) connection with a central server app, Bleep does the same with a distributed server app.
This means that there is no central central repository of metadata (storage of your conversations) as the decentralization disables any storing. This also means that whatever you chat is just read and go. Another plus point for Bleep is that the person who wants to talk with someone must go search for them through nodes and this search is also not tracked from the server side.
"All links are encrypted .We are using secure encryption protocols such as curve25519, ed25519, salsa20, poly1305, and others. Links between nodes are encrypted. All communication is end to end encrypted," Fadaie says.
Bleep got its name from the fact that the company does not see the metadata or the contents of the exchanged messages. "As far as we’re concerned, anything you say is 'bleep' to us," noted Lee.
Bleep has been released in pre-alpha and is currently available only for Windows 7 and 8. Those who wish to test the app can sign-up here, but should be aware that there are surely glitches and bugs that have to be ironed out, or maybe you could be a bug tester yourself.
Wednesday, 11 June 2014
How To Securely Delete Files From Your HDD Or SSD In Windows
When you hit the delete button, where does that file go? Does it just evaporate and leave a blank space on your drive? If you’ve been around computers long enough, you know that’s not what happens. But if you’re mostly an email and Facebook type of computer user, you might not know, or not even thought about it.
You should think about it though, for a couple reasons. The first reason is so that you know you might be able to recover an accidentally deleted file. The second reason is so you know that, if you can recover a file you deleted, so can someone else.
What Happens To A File When It is Deleted
Hard Disk Drives (HDDs)
When you delete a file it goes to the Recycle Bin. That gives you a chance to recover it in case you accidentally deleted it and need it back. But what happens when you delete it from the Recycle Bin? Actually, not much at all. The file doesn’t move or go anywhere. In fact, when you moved it to the Recycle Bin, it didn’t physically move there either. All that happened was an index got updated to say that the file is in the Recycle Bin, not the Documents folder.The index is called the Master File Table (MFT) for Hard Disk Drives. It looks like this. The left-most column are the block addresses. The middle column shows data in hex code. the right column shows what that data would like as plain text.

When the file is ‘deleted’ the information stays on the drive, but the MFT is changed to say, “Hey, you know that spot where Secret-File.txt was? Yeah, Computer, you can now put data there if you want. We don’t need it anymore.” Until the computer puts data in that spot, the Secret-File.txt data remains. It could be minutes, days, weeks, or months until that data is overwritten. Kind of like a condemned house sitting on a lot. It’s not usable, but it’s still there until the bulldozer comes and they build something else.
Here’s an example. The left column shows red Xs for MFT locations that have been set to be overwritten, the one with the page icon is marked to stay. The right column shows the data that is still in that location, even though you can’t find it with Windows Explorer. See the problem with ordinary deletes now?

Solid State Drives (SSDs)
It’s not exactly the same for Solid State Drives. SSDs are always shifting files around, randomly. So, figuratively speaking, if you deleted a file from location 2871, the deleted info may, sooner or later, get moved off to another random location, until at some point in time the SSD decides to finally overwrite that file. How do you target the old file for secure deletion on an SSD, then?Well, you can’t really. A group of engineers at the University of California studied how difficult it is to erase data from an SSD. Trying to securely erase a single file left behind anywhere from 4 to 75% of the information. And it’s tough on the drive. What you can do is make sure you encrypt your SSD, and make sure that you’ve got an SSD drive with TRIM capability.

This isn’t a problem for most people, but you might be concerned that people could still access that deleted information. Maybe you handle sensitive medical documents, or you’re an international art thief, or just a little paranoid like me. How do you securely get rid of that data, immediately and forever?
What is ‘Secure’?
Before we get into the nuts and bolts of secure data deletion, we need to look at what secure means. Secure means whatever you think it means. If you’re happy with the level of security you have, then it’s secure. If the data you don’t want recovered isn’t life threatening, then the measures you take to delete it don’t need to be as severe as deleting the security codes for the last sample of smallpox off the CDC’s servers.Let’s take a look at the methods in order of least secure to most secure. Until we get to entire drive deletion, these methods will only apply to traditional HDDs.
Least Secure Method
Simply delete the file in your Windows Explorer and empty the Recycle Bin. Unless you think someone is going to come along with data recovery software and look for that file in the next week or so, that will probably be secure enough. Examples of information like this could be anything from a silly animated GIF to a letter to your Nan. You really should write to her. She misses you, you know.
Mildly Secure Method (HDD Only)
As we talked about, overwriting data is a pretty good way to obscure the old data. You can do this on a file by file basis with programs that are commonly referred to as file shredders. Although the interfaces for these utilities can differ, the method of operation is essentially the same – delete the old file, then write zeroes to the places on the HDD where the file used to be. These tools are only mildly secure, because you have to make sure you use them when you need them. If you want to securely delete a file with your Social Security Number on it, but forget to use the shredder, that info will still be sitting on your drive for awhile.
Examples of use for this method is where the person occasionally deals with sensitive information that pertains only to them. It might be the odd copy of a tax return, or a bank statement that you want to delete. That’s where file shredders are most handy.
Moderately Secure Method (HDD Only)
A more moderately secure method to delete information from your drives is to use software that allows you to wipe free space on your drives. CCleaner is a favourite for this task. When you choose the Wipe Free Space option, it writes zeroes to the blocks where files used to be. The difference between this and the shredders is that wiping free space takes care of ALL deleted files. It’s just that little bit more thorough. The catch is that this method takes a fair bit of time and should be scheduled or you’ll forget to do it frequently enough.
Examples of good uses for this are for people who frequently delete files that are quite sensitive. Maybe they are heavy online bankers or do some online trading. Perhaps they have just backed up their important info to an encrypted external drive and don’t need it on the computer anymore.
Most Secure Method (HDD & SSD)
The most secure methods are really for deleting the entire contents of a drive. Yet again, because of the differences between HDDs and SSDs, the same methods don’t apply to both. Chose the appropriate one for your drive and situation.Examples where you’d want to go to this level include switching to a new computer which will have the info, but you’re keeping, selling, or disposing of the old computer. Perhaps you are re-purposing a computer from an information-sensitive use to a more day-to-day use.
HDD – Formatting
Formatting is a catch-all term for a few different things. It can mean simply deleting the MFT so it appears like all the data is gone, but it isn’t. It’s still there and intact until overwritten. Or, it can mean true formatting, known as low-level formatting, which overwrites all the data with zeroes. You can’t low-level format your entire hard drive from within Windows. You’ll need a formatting utility that you can boot your computer into, like Darik’s Boot and Nuke.
You might be tempted to choose one of the hardcore multipass methods, but that’s probably going to be overkill. Especially if you want it done quick and don’t want to shorten the life of your hard drive. The RCMP TSSIT OPS-II or DoD Short methods are sufficient. RCMP is the Royal Canadian Mounted Police and the DoD is the British Department of Defence. Good enough for them should be good enough for you.
SSD – Manufacturer’s Utility
Most SSD manufacturers have a utility for managing and securely erasing their SSDs. Tim Brookes was kind enough to compile a list of links for the top manufacturers in his article, How To Securely Erase Your SSD Without Destroying It.
Download: Intel Solid State Toolbox / OCZ Toolbox / Corsair SSD Toolbox / Samsung Magician / SanDisk SSD Toolkit
Paranoid Method (HDD and SSD)
The National Institute of Science and Technology has a policy to deal with the destruction of extremely sensitive data. It’s even more aggressive than what the RCMP or DoD use, so it will destroy your data to the point where not even Sherlock Holmes riding on Hercule Poirot’s back with Frank Columbo leading them around would get anything out of it.
That’s not hyperbole, that’s NIST’s actual standard. Oh, and to meet the grade you have to find a NIST licensed incinerator to do the job. That job in the picture above wouldn’t be good enough.
What Will You Do?
You’ve got the knowledge and some resources now. It’s up to you what you will do with them. However, if you’re not already using several techniques to keep your information safe from prying eyes, secure deletion shouldn’t be your first concern. If someone already has your info, it doesn’t matter how you delete your copy.What method do you use to delete files securely? Are you happy with it? Ever not been able to delete a file? Let’s talk about it.
Source: makeuseof
Subscribe to:
Comments (Atom)