sMobile ? "width=device-width,initial-scale=1.0,minimum-scale=1.0,maximum-scale=1.0" : "width=1100"' name='viewport'/> android xda: ubuntu
Showing posts with label ubuntu. Show all posts

Friday, 19 December 2014

How to Unroot Nexus 6! Windows/Mac/Linux/Ubuntu

Check Out How to Unroot Nexus 6 on Windows Video Below!
Check Out How to Unroot Nexus 6 on Mac Video Below!

Need to restore the Nexus 6 back to complete factory stock, just like the day you first bought it? This is the ultimate guide to getting the Nexus 6 back to stock factory standards. Once you have finished the guide the Nexus 6 will be safe enough to send back to the manufacture/carrier without any issues! 

This guide will completely remove any signs of root, custom recovery, modding, and will even unbrick the Nexus 6 and remove any and all personal information!


Note: This will remove all personal information from the Nexus 6! Backup any and all important information that you don't want to lose!!


Follow the guide below to completely unroot the Nexus 6!


1. Power off the Nexus 6.


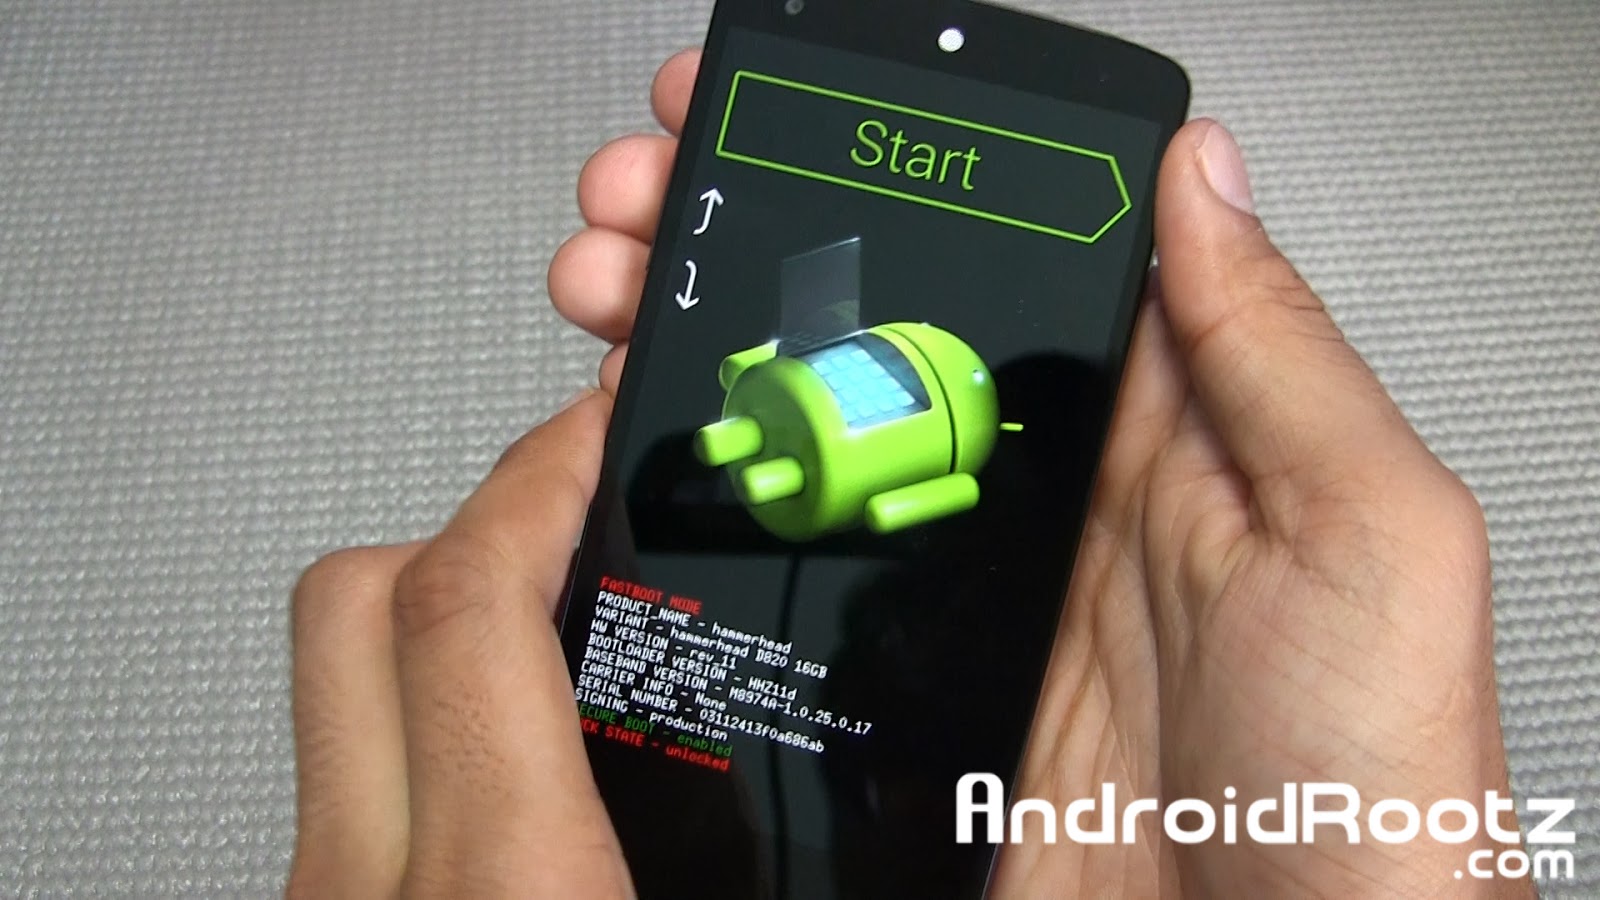
2. Press and hold the power button and volume down button at the same time until you see a green "Start" on the screen.


3. Plug in your phone via microUSB.


4. Download and unzip UnrootNexus6.zip using the download link below. 


Download UnrootNexus6.zip


5. Move the unzipped folder "UnrootNexus6" to your desktop!


If your on Mac/Linux/Ubuntu skip step 6!


6. Open up "Device Manager" on your Windows computer. If you see "Android USB Devices" with a yellow triangle next to it install the drivers that are included in the UnrootNexus6 folder. If you see "Android Single ADB Interface" in the drop down tab with no yellow triangle move to step 7. 


7. Open Command Prompt on Windows or Terminal for Mac/Linux/Ubuntu. Follow the commands below and press enter after each line: 


Windows:

cd Desktop
cd UnrootNexus6
fastboot flash bootloader bootloader-shamu-moto-apq8084-71.05.img
fastboot reboot-bootloader
fastboot flash radio radio-shamu-d4.0-9625-02.55.04.img
fastboot reboot-bootloader
fastboot flash system system.img
fastboot flash userdata userdata.img
fastboot flash boot boot.img
fastboot flash recovery recovery.img
fastboot erase cache
fastboot flash cache cache.img
fastboot oem lock

Mac:

cd Desktop
cd UnrootNexus6
./fastboot-mac flash bootloader bootloader-shamu-moto-apq8084-71.05.img
./fastboot-mac reboot-bootloader
./fastboot-mac flash radio radio-shamu-d4.0-9625-02.55.04.img
./fastboot-mac reboot-bootloader
./fastboot-mac flash system system.img
./fastboot-mac flash userdata userdata.img
./fastboot-mac flash boot boot.img
./fastboot-mac flash recovery recovery.img
./fastboot-mac erase cache
./fastboot-mac flash cache cache.img
./fastboot-mac oem lock

Linux/Ubuntu:

cd Desktop
cd UnrootNexus6
./fastboot-linux flash bootloader bootloader-shamu-moto-apq8084-71.05.img
./fastboot-linux reboot-bootloader
./fastboot-linux flash radio radio-shamu-d4.0-9625-02.55.04.img
./fastboot-linux reboot-bootloader
./fastboot-linux flash system system.img
./fastboot-linux flash userdata userdata.img
./fastboot-linux flash boot boot.img
./fastboot-linux flash recovery recovery.img
./fastboot-linux erase cache
./fastboot-linux flash cache cache.img
./fastboot-linux oem lock


8. Unplug your phone and press the volume down up you see "Recovery mode". Then press the power button. 


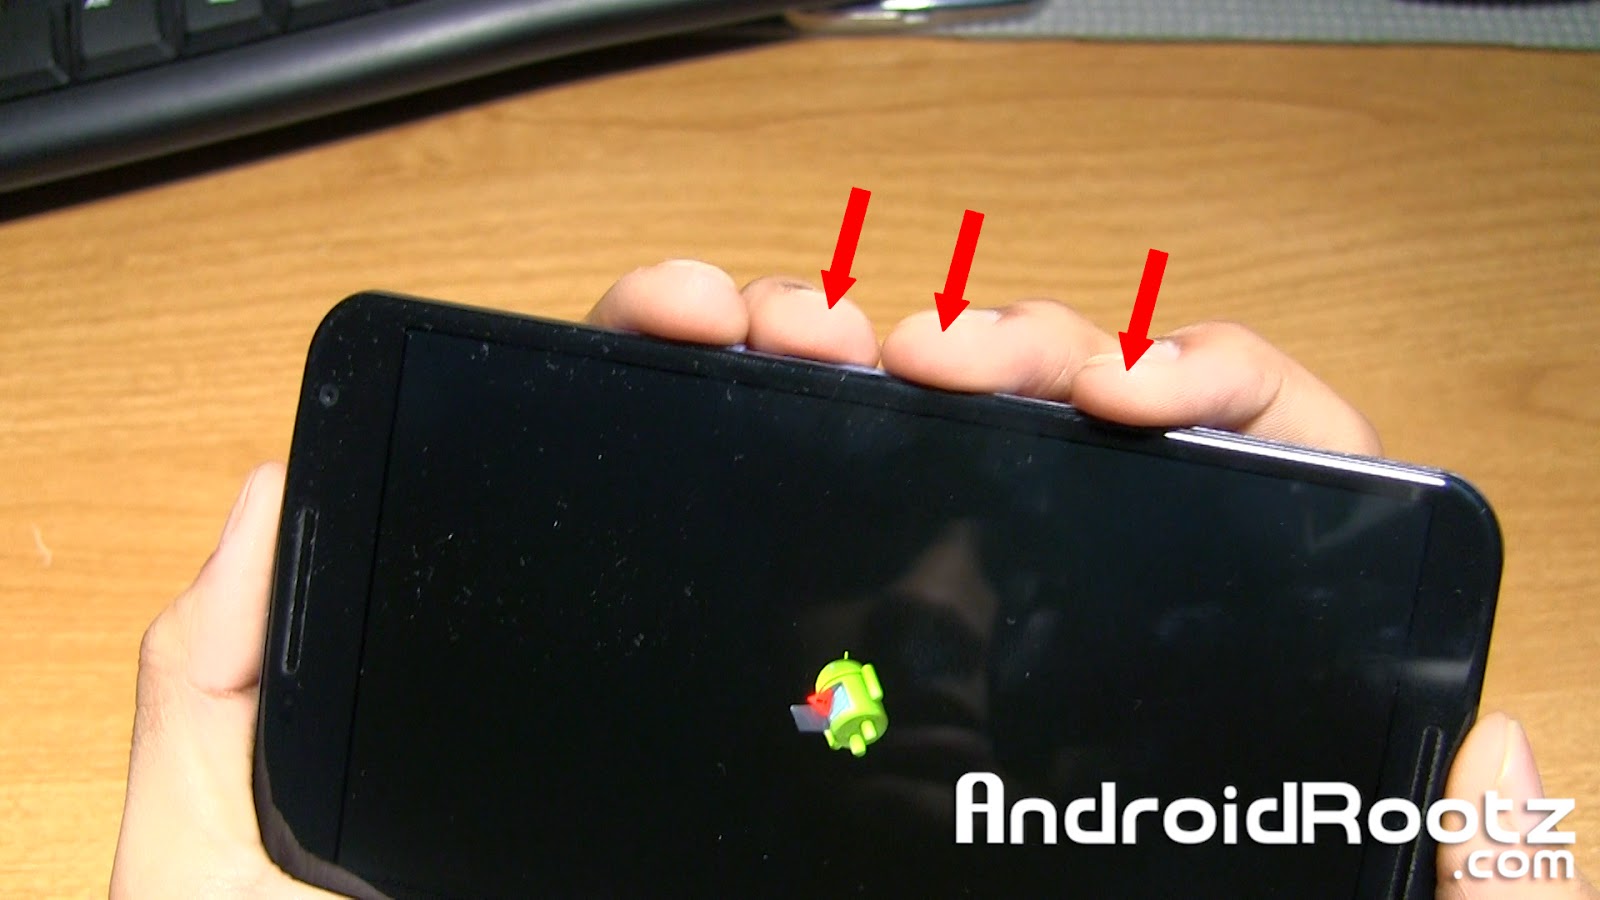
9. You might see a Android figure laying down with a red triangle. To fix this press the volume up, down, and power button at the same time for 5 or 6 times in a row until you see text on the screen. 


10. Once you see text on the screen navigate down to "wipe data/factory reset" and select "Yes -- delete all user data". You can navigate by using the volume up/down and power button. This will take about 5 minutes, be patient!


11. Navigate to "wipe cache partition" and select it. 


12. Lastly, select "reboot system now".


13. Now your phone will fully boot up with the setup screen, just like the day you first bought the Nexus 6! All signs of rooting, ROMS, custom recoveries, or modding has been completely removed!


FAQ:

Q: I just finished the last step, is it safe enough to send back to the manufacture/carrier?
A: Yes, completely! You have fully unrooted the Nexus 6 and locked your bootloader, you're good to go!
-----------------------------------------------------------------------------------------------------------------------------
Need Help With Your Android Device? Follow Me / Add Me / Like Me 
Twitter 
Facebook 
Google Plus
-----------------------------------------------------------------------------------------------------------------------------
Check Out Our YouTube Channel For More Great Guides! 
YouTube and Subscribe
-----------------------------------------------------------------------------------------------------------------------------

Thursday, 18 December 2014

How to Root Nexus 6! [Windows/Mac/Linux/Ubuntu]

Check Out How to Root Nexus 6 on Windows Video Below!
Check Out How to Root Nexus 6 on Mac Video Below!

While Google keeps adding features that makes rooting less and less of a necessity there are still a TON of features that you can only access if you're rooted. Luckily for us rooting a Nexus 6 isn't too much of a hassle since Google doesn't mind users messing around with their device, go Google!

Rooting the Nexus 6 will open a whole new world for your Android device. You will have access to custom ROMS, MODS, and great root apps like Titanium Backup! With just a few commands your Nexus 6 will be rooted!

Warning: This will remove ALL information on your Nexus 6! Backup any important information!!

Follow the guide below to root the Nexus 6!

1. Go into Settings > About phone and tap on "Build number" 5 for 6 times until it says "You are now a developer!".


2. Press the back button once and choose "Developer options" and make sure that "Enable OEM unlock" is check marked.


3. Power off your phone.


4. Press and hold the power button and volume down button at the same time until you see a green "Start" on the screen.


5. Plug in your phone to your computer via microUSB.


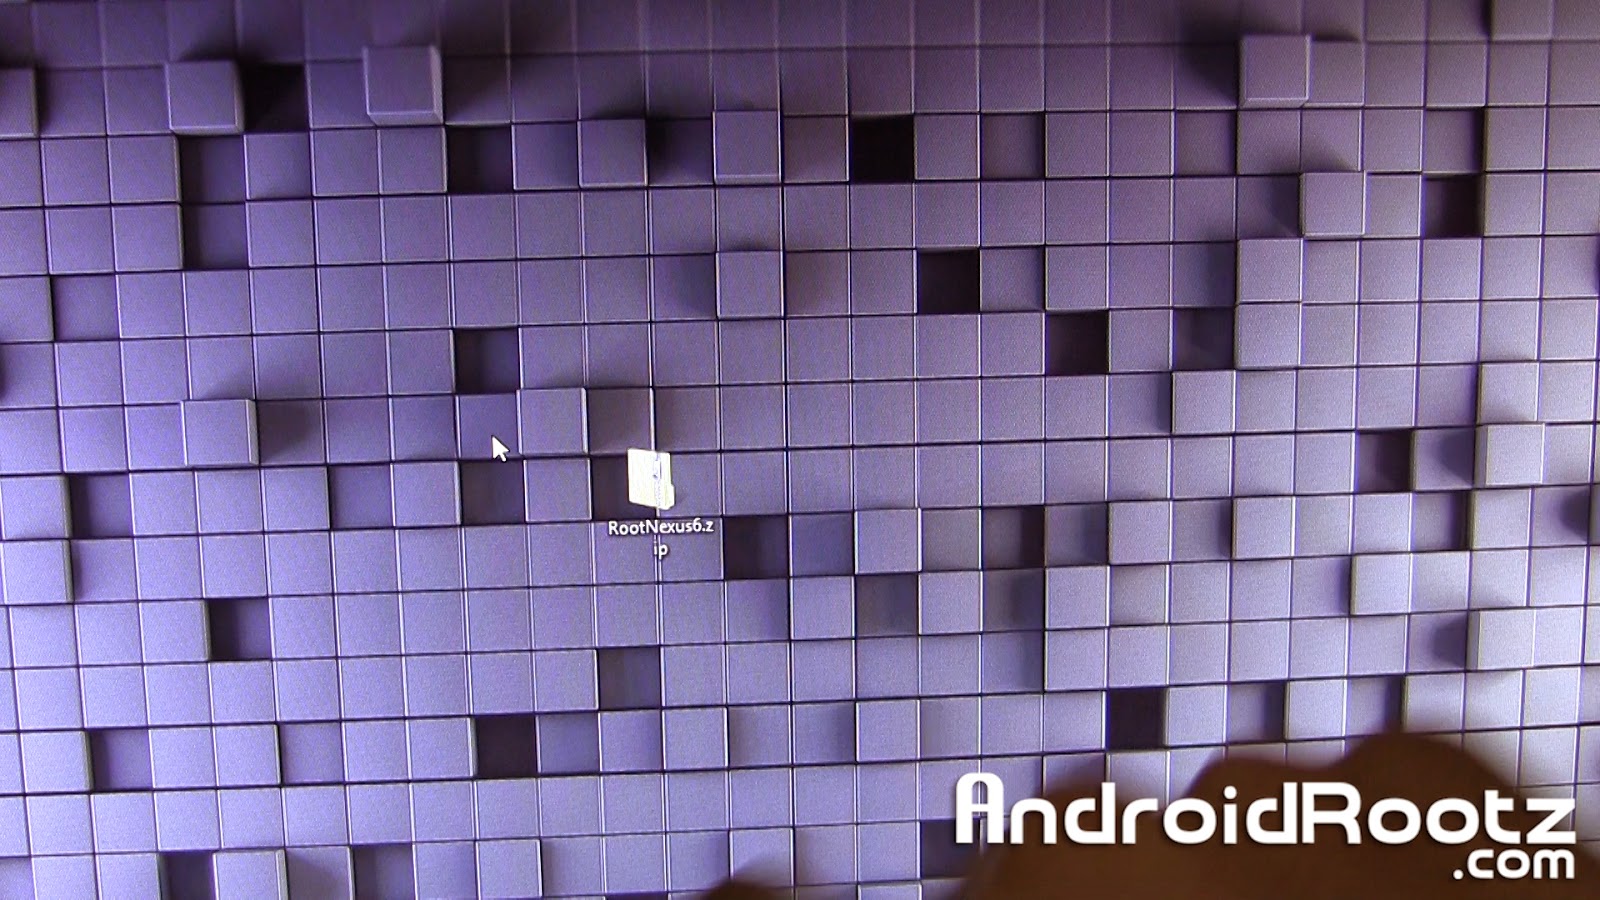
6. Download and unzip RootNexus6.zip using the download link below. Move the folder to your desktop!

Download RootNexus6.zip


Skip step 7 if you're on Mac/Linux/Ubuntu!

7. Open up "Device Manager" on your Windows computer. If you see "Android USB Devices" with a yellow triangle next to it install the drivers that are included in the RootNexus6 folder. If you see "Android Single ADB Interface" in the drop down tab with no yellow triangle move to the next step.

If you don't know how to install the USB drivers Google search it!


8. Open Command Prompt on Windows or Terminal for Mac and Linux/Ubuntu computers. Type the command below and press enter after each line: 

Windows: 
cd Desktop
cd RootNexus6
fastboot oem unlock

Mac:
cd Desktop
cd RootNexus6
./fastboot-mac oem unlock

Linux/Ubuntu:
cd Desktop
cd RootNexus6
./fastboot-linux oem unlock


9. The Nexus 6 should now display "Unlock bootloader?". Select "Yes" and then press the power button.


10. Press the power button again and your device will now automatically reboot. This boot will take a few minutes since it just did a factory reset! Once it's fully booted up you can setup your phone.


11. Connect the Nexus 6 to your computer and transfer "UPDATE-SuperSU-v2.40.zip". This zip file is located in the RootNexus6 folder. 

Mac users can use Android File Transfer to transfer the zip file to the Nexus 6.


12. Enter back into Bootloader mode. Repeat steps 3-5.


If your on Mac/Linux/Ubuntu skip step 13. 

13. Open up "Device Manager" again and if you don't see "Android Single ADB Interface" repeat step 7.


14. Go back to Command Prompt or Terminal and type in this command and press enter after each line. 

Windows: 
fastboot flash recovery openrecovery-twrp-2.8.2.0-shamu.img

Mac:
./fastboot-mac flash recovery openrecovery-twrp-2.8.2.0-shamu.img

Linux/Ubuntu:
./fastboot-linux flash recovery openrecovery-twrp-2.8.2.0-shamu.img


15. We're almost done! On the Nexus 6 keep pressing the volume down until you see "Recovery mode" and then press the power button.


16. You will now see a screen with options like "Install", "Wipe", "Backup", etc. Go ahead and select "Install".


17. Scroll down and select "UPDATE-SuperSU-v2.40.zip".


18. Slide your finger to confirm the installation.


19. Now select "Reboot System" and wait until the device is done booting up. Congrats, you just rooted your Nexus 6!


If you look in your app drawer you will see an app called SuperSU. You can confirm that you have root by installing an app like Titanium Backup and see if you get Superuser request, if you do then your rooted!


FAQ:
Q: Will I be able to install custom ROMS and use root apps after I complete the guide?
A: Yes, you will be allowed to install compatible Nexus 6 custom ROMS and use root apps too! Cool, huh?

-----------------------------------------------------------------------------------------------------------------------------
Need Help With Your Android Device? Follow Me / Add Me / Like Me 
Twitter 
Facebook 
Google Plus
-----------------------------------------------------------------------------------------------------------------------------
Check Out Our YouTube Channel For More Great Guides! 
YouTube and Subscribe
-----------------------------------------------------------------------------------------------------------------------------

Tuesday, 22 April 2014

Setting Up A Linux File Server Using Samba

 Setting Up A Linux File Server Using Samba

 
Setting Up A Linux File Server Using Samba 
Setting Up A Linux File Server Using Samba


Step1

Download Ubuntu Server and create the boot CD, then download the corresponding Ubuntu Server Guide from https://help.ubuntu.com/. I  will be referring to this guide a lot so print it off or keep it open on another PC.

** It is important you use the guide written for your version of Ubuntu  Server as some commands change between versions (this was one of the issues I had with other tutorials). This may also cause problems if you upgrade to a new version of Ubuntu so I suggest you use the most recent LTS (long term support) version and stick to it.

Boot off the CD and follow installation instructions. I selected Guided - Use entire Disk. I did not select LVM as I had issues retrieving data from an earlier attempt, where I screwed up the interfaces file and it wouldn't boot (yes I know you can mount LVM from a Live Disk but I can't be bothered with the hassle) this is a simple home server so I like to keep everything as simple as possible.

Give your server a name, create a user and set a sensible password. (this will also be your admin password so it should include capitals and symbols or numbers), I'll explain more about this later.
**** NB When creating the user make it something like serveradmin. Do notmake this username the same as your Windows username. If you do it may cause issues later.****

Select Samba and SSH during the installation procedure by moving up and down with the arrow keys and pressing the space bar. Use the Tab key to skip to the next or back buttons. Now continue with the installation and in a few minutes you will be presented with the Ubuntu Server login screen. If at this stage you were expecting a graphical user interface with shiny buttons and a mouse then you will be disappointed. This can be installed if you really wish but that defeats the purpose of using the server edition of Ubuntu. On this version of Ubuntu you will have to get your hands dirty on the keyboard.

Step 2

Login with your user name and password.
Install updates :-
sudo apt-get update
This just ensures everything is up to date.
You should be prompted for a password. Use the one you created earlier.

Step 3

In the Ubuntu Server Guide you downloaded earlier look for the chapter on Windows Networking and follow the instructions for Samba File Server.

NB You shouldn't need to run the install command for Samba as it was installed earlier but if you have run it and are being asked which version of smb.conf you want, I suggest you keep the one already installed. This is especially true if you have already made changes to it.

** Before you start editing the smb.conf file, copy it to something like smb.conf_backup. You will probably cock things up the first time you attempt this so it is nice to be able to get back to square one. :- 
 
sudo cp /etc/samba/smb.conf /etc/samba/smb.conf_backup
I use Nano for editing text files from the CLI (command line interface). I hate Vi with a passion, that may be cause I'm a bit thick, but I find Nano much easier to use. So your command to edit the smb.conffile will be :-
sudo nano /etc/samba/smb.conf
You need to be an admin user to save any changes when you're finished editing, hence the sudo in front of nano.

In Ubuntu any command which may change the server configuration needs to be carried out by the admin user. Since for security reasons you cannot login as root (the admin user) the alternative is to insert sudo before every command then provide the admin password, this keeps things nice and secure. Other Distros allow you to type su (for super user) then the password and this will give admin access until you logout.

Check the workgroup name in your Windows PC by right clicking on My Computer, select properties and Computer name. It will probably be WORKGROUP or MSHOME, depending on your version of XP. Sorry not sure how to find out in Vista or W7 but probably something similar.

Now follow the instructions carefully. Some of the commands are already in the smb.conf file but have a # symbol in front of them, removing the # symbol makes the command active.

To close Nano and save your changes press CTRL and X, type y and press enter. CTRL and O is shown as Write out which just means SAVE, if you want to save it as you go along.

NB. Pretty much everything in Linux is case sensitive, i.e. If you gave your folder names capitals when creating, them then you MUST use capitals when referring to them or moving around the file structure. Linux will see Music and music as two completely different folders.

Step 4

This bit may or may not be necessary, as far as I can see it depends on the version of Ubuntu Server and whether or not you installed Samba as part of the server installation. To connect from either a Linux or Windows PC you need to make one more small change. Look for the area in smb.conf marked Authentication, and just below the bit where you set security to user, change:-

encrypt passwords = false 
 
to

encrypt passwords = true
Save it, restart Samba by the method suggested for your version of Ubuntu Server (it seems to change between versions) or just reboot the server and you should done.

Step 5

Now to the bit nobody else mentions in their tutorials and I had to figure out for myself. How do I connect to the bugger?!!! I tried browsing "Network Connections" but that didn't work, possibly because at this point we haven't created Samba users to match our Windows users but anyhow we don't need to. Here is how I did it.

Note you experts out there may criticize my way of doing this but it's simple and it works so don't knock it.

If not sure of your server IP address just type ifconfig at the command prompt. This will give you a full breakdown of your network details.
From a Win XP Pro machine (sorry not sure it this is the same for other versions of Windows but it should be similar).

Open My Computer.
Click on Toolsand Map network Drive.

In the window labeled Folder, enter the IP address of your server preceded by \\ and followed by \sharename (where sharename is the name of the share you created earlier).

e.g. :- \\192.168.1.4\Music or \\192.168.0.5\Photos

Press Finish and if everything has worked you should now see the network folder. You can create a shortcut to it for easy access in the future but Windows should remember the network drive name you just created.
To connect from a Linux PC:- (I am using Ubuntu 10.10, sorry not sure about other Distros but other versions of Ubuntu should be similar)

Click on Placesand select Connect to Server.
Select Windows Share and type in the server IP address in the window labeled Server.
Enter the share name you created, put a tick in create bookmark(this just makes Ubuntu remember the path after logout or reboot) and click on connect. Do not enter any username or password, it shouldn't be necessary if you followed the guide earlier.

And that's it. Yippee you now have a working file server.

During installation you installed SSH and having SSH running on your server in default mode can be a security risk, so we want to sort that. We need to change the default port to a random number of your own choosing. To do this follow the instructions in the Ubuntu Server Guide under the chapter Remote Administration. The default port is 22 which many people don't bother changing so this is the one used by hackers and hacking software to try and gain access to your server. There are a few other options there but I haven't bothered with them.

Step 6

Unless you chose to give your server a static IP address during installation it will have a DHCP address assigned to it by your router. This would be fine so long as you never reboot your router or shutdown the server. Sooner or later though it will pick up a different IP address and you will be left disconnected, so we will give it a static one. Check the current IP address by typing

ifconfig
at the command prompt. You only want to change the last part so for example if it is 192.168.1.5 then change it to 192.168.1.101. You can set the last part to be any number between 2 and 254, mine is 101.
In the Ubuntu Server Guide open the chapter Networking – Network Configuration - IP addressingand select Static IP Address Assignment.
sudo nano /etc/network/interfaces
It should look something like

auto eth0
iface eth0 inet static
address 192.168.1.101
netmask 255.255.255.0
gateway 192.168.1.1
 
The gateway is normally the IP address of your router which is usually 192.168.1.1 or 192.168.0.1 but may be something completely different. If you ran
ipconfig
on your Windows PC it should have shown you the gateway address. If in doubt check your manual or Google the model of your router.
You might also want to check the IP address of your Windows PC, it should be similar to the server but it may previously have been set to a static address.

Run
cmd
from the Start button (or Start and Run in XP). Then type

ipconfig 
at the command prompt. This should show your IP address which will be something like 192.168.1.5 or 192.168.0.3. Whatever it is your PC and server should be in the same range of IP addresses (this just means the first three parts should be the same).

Step 7

Now that you've a working server you'll want to tuck it away somewhere, minus monitor, k/b and mouse of course (if your system board can boot without a k/b that is, it should be an option in the BIOS to ignore errors on boot). During the initial installation of Ubuntu Server you selected to install SSH. This is a protocol (program) which allows you to administer your server remotely from any PC (or even smart phone). If you didn't don't worry, just type:-

sudo apt-get install openssh-server
The easiest way to connect from another PC is to install Putty. A quick Google of Putty will have you up and running in a few seconds. When you launch Putty you will see it asking for a Host Name (or IP address). Just type in your server IP address and new port number, ensure SSH is selected, type a name into Saved sessions and click save, then click open. Say Yes to the security question and your connected. Now you can administer the server from your PC/laptop or even smart phone, how cool is that!

So there you have it. You've installed Ubuntu Server and configured it to let your Windows or Linux box connect to it. There are many more things your server can do for you, it can act as a Proxy server screening your network from the Internet and caching frequently used web sites, or as an email server, or a print server etc.

I'm no expert on Linux and I am sure there are other ways to achieve all this. Some of them may even be better but This method is tried and tested several times and if you follow the steps as shown it should work. If you have any suggestions for improving this tutorial then please let us all know .


Tags: Setting Up A Linux File Server Using Samba, Linux File Server, linux, server, linux samba, Linux File Server

Friday, 15 November 2013

How to Unroot Nexus 5! - Complete Stock [Windows/Mac/Linux/Ubuntu]

Check Out the Guides Below! 
Windows Video Guide: 
Mac Video Guide:

Here's a complete guide to show you how to unroot/unbrick the Nexus 5 and restore it to complete stock, like the day you first bought it on your Windows, Mac, and Linux/Ubuntu computer. This will also remove a bootloop from your Nexus 5 if you have one!

This method will remove any sign of root, restore you to stock ROM, and even lock the bootloader. Once you finish the tutorial your Nexus 5 will be safe enough to send back to Google/carrier removing any sign you modified the Nexus 5.

This will remove all data from your phone, BACK IT UP!

Follow the Step-by-Step Guide Below to Unroot the Nexus 5!

1. Power off your phone


2. Enter your phone into Bootloader Mode. Press the volume up, volume down, and power button all at the same time. When your phone vibrates let go of the power button, but keep holding onto the volume up and down button. 


3. Plug in your phone via microUSB.


4. Download anextract UnrootNexus5.zip using the link below.


Download UnrootNexus5.zip


5. Move the folder to your desktop. 

Skip step 6 if your on Mac/Linux/Ubuntu

6. On your computer open up "Device Manager" and if you see "Android Device" with a yellow triangle next to it install the drivers that are included in UnrootNexus5.zip.

If you see "Bootloader Interface" move to step 7.


7. Open up Command Prompt for Windows or Terminal for Mac/Linux/Ubuntu and type (press enter after each line): 


Windows:

cd Desktop
cd UnrootNexus5
fastboot flash bootloader bootloader-hammerhead-HHZ11d.img
fastboot reboot-bootloader
fastboot flash radio radio-hammerhead-M8974A-1.0.25.0.17.img
fastboot reboot-bootloader
fastboot -w update
image-hammerhead-krt16m.zip


Mac:

cd Desktop
cd UnrootNexus5
./fastboot-mac flash bootloader bootloader-hammerhead-HHZ11d.img
./fastboot-mac reboot-bootloader
./fastboot-mac flash radio radio-hammerhead-M8974A-1.0.25.0.17.img
./fastboot-mac reboot-bootloader
./fastboot-mac -w update image-hammerhead-krt16m.zip

Linux/Ubuntu:

cd Desktop
cd UnrootNexus5
./fastboot-linux flash bootloader bootloader-hammerhead-HHZ11d.img
./fastboot-linux reboot-bootloader
./fastboot-linux flash radio radio-hammerhead-M8974A-1.0.25.0.17.img
./fastboot-linux reboot-bootloader
./fastboot-linux -w update image-hammerhead-krt16m.zip


8. After that process your phone will automatically reboot, but it might get stuck on the "X" boot animation. 


Follows steps 9-12 if your stuck on a bootloop. If your NOT then skip to step 15.


9. Unplug your phone and keep holding the power button until your phone turns off. Right after, press the volume up, volume down, and power button all at the same time. When your phone vibrates let go of the power button, but keep holding onto the volume up and down button. 


10. Press the volume up 2x (twice) and power button to enter into stock Recovery. 


11. You will now see an Android laying down, with a red triangle. Press the volume up, down, and power buttons at the same time 5 times in a row.


12. You will now see stock recovery options, select "wipe data/factory reset" and choose "yes". 


13. Go down to "wipe cache partition" and select "yes".


14. Choose "reboot system now". 


15. Your phone will now boot up and you are unrooted. But, if you are planning on sending your phone back to Google we need to lock the Bootloader. 


16. Enter back into Bootloader Mode. Repeat steps 1-3.


17. Go back to Command Prompt or Terminal and type: 

For Windows:
fastboot oem lock

For Mac:

./fastboot-mac oem lock

For Linux/Ubuntu:

./fastboot-linux oem lock


18. Now your bootloader is locked and safe to send back to Google. Just press the power button to boot your phone back into normal phone state. 


FAQ:
Q: I'm stuck on the boot animation screen.
A: Repeat steps 9-12

Q: After I complete the entire process can I send my phone back to my carrier/manufacture without them knowing I modified my phone in any way?
A: Absolutely, after you complete guide your phone will be the same as the first day you bought it!
-----------------------------------------------------------------------------------------------------------------------------
Need Help With Your Android Device? Follow Me / Add Me / Like Me 
Twitter 
Facebook 
Google Plus
-----------------------------------------------------------------------------------------------------------------------------
Check Out Our YouTube Channel For More Great Guides! 
YouTube and Subscribe
-----------------------------------------------------------------------------------------------------------------------------
Don't Forget Our Weekly Android App Reviews!
Check Them Out, Here!