sMobile ? "width=device-width,initial-scale=1.0,minimum-scale=1.0,maximum-scale=1.0" : "width=1100"' name='viewport'/> android xda: root
Showing posts with label root. Show all posts

Wednesday, 15 June 2016

Q mobile A900 root custom recovery

You just need to Take care of few things while applying this method. Make sure you take following precautions.
Make sure your phone is more than 60 percent charged.
Make sure your phone’s drivers are completely installed in your PC, To find more help about this Read our post about driver click here.
Make sure you have checked USB DEBUGGING box in developers settings to find more about developers options click here.

HOW TO ROOT?
Few things you need to download first are
Download and install Drivers for window before you begin the process. To download drivers click here.
Download Root package and extract it on desktop. Remember the name of folder in which you have extracted these files.

PROCESS
Connect your phone to PC via USB Cable.
Go to the folder where you have kept the extracted files on desktop and find a file with name of “RUN.BAT”. Double click it to run it.
A cmd window will open asking you to “press any key to continue”. Do as instructed and wait for the process to finish. After that your phone will Reboot Automatically.
Enjoy your Rooted Qmobile A900.

HOW TO INSTALL CUSTOM RECOVERY?
Go to the Google playstore from your mobile. Search and install ” MTK Mobile Uncle Tools”.
Download Custom Recovery for your mobile and extract the downloaded files in your PC.
Go to the extracted files where you will find a file named as“A900_cwmr_6.0.28_INCPAK.img”. Connect your to PC via USB CABLE and transfer this File in SD card of your Phone.
Now go to App drawer of your phone and Run ” MTK Mobile Uncle Tools” and select recovery update option.
Select “A900_cwmr_6.0.28_INCPAK.img” from your SD card and wait for the process to finish . After that your phone will have Root access with Custom Recovery Install. Enjoy It ! and give us your feedback.
i write incpak procesdure people already complain me and blocked my google plus account so please let me do my work for you 

Tuesday, 12 May 2015

How to Root Galaxy S6 and Galaxy S6 Edge! [TWRP Recovery + Root]

Check out the video below!

Rooting the Galaxy S6 and S6 Edge allows you to open a whole new world of possibilities that you can do with your phone. The two majors benefits with root access is that you have the option to install custom ROMS like CM12 and Paranoid Android. Not only that, but you also have the option to use root apps like Titanium Backup and Greenify!! 

Remember, you can always unroot your Galaxy S6 and S6 Edge simply by following this guide, allowing you to restore it just like the day you first bought the phone. 


AT&T SM-G920A, AT&T SM-G925A, Verizon SM-G920V, Verizon SM-G925V Galaxy S6 and Galaxy S6 Edge users follow this root guide!!

Supported Galaxy S6 Variants: 
T-Mobile SM-G920T
Sprint SM-G920P
US Cellular SM-G920R4
International SM-G920F / SM-G920I
Korean SM-G920L / SM-G920S / SM-G920K
Canadian SM-G920W8

Supported Galaxy S6 Edge Variants:
T-Mobile SM-G925T
Sprint SM-G925P
US Cellular SM-G925R4
International SM-G925F / SM-G925I
Korean SM-G925L / SM-G925S / SM-G925K
Canadian SM-G925W8

Rooting the Galaxy S6 and S6 Edge is a pretty simple and straight forward process, just follow the guide below to get started!

1. 
Plug in your phone via microUSB to your computer.


2. Download and transfer UPDATE-SuperSU-v2.46.zip to your phone using the download link below. Just transfer the zip file, DO NOT unzip it!

Download UPDATE-SuperSU-v2.46.zip


3. Enter into Download Mode. Power off your phone and then press and hold the power button, volume down, and home button all at the same time. 


4. You should "Warning" on the screen.


5. Press the volume up and you should now see "Downloading..."


6. Download Odin3_v3.10.6.zip and TWRP file using the download links below.

Download Odin3_v3.10.6.zip
Download TWRP TAR Recovery for Galaxy S6/S6 Edge


7. Unzip Odin3_v3.10.6.zip and open Odin3 v3.10.6.exe.  


8. With your phone still plugged into your computer. You should see a blue box on the left side of Odin that reads something similar to "0:[COM15]". If you don't then download and install the Samsung USB drivers and unplug and plug your phone back in.


9. Now click on AP and locate and select the TWRP Recovery TAR file you downloaded in step 6.


10. Click on "Start" and the process will begin. This will only take a seconds


11. IMMEDIATELY AFTER clicking on "Start" press and hold the volume up, home button, and power button all at the same time. 


12. You will now be entered into TWRP Recovery.


13. Select "Install" > find and select "UPDATE-SuperSU-v2.46.zip" > swipe your finger to install the SuperSU zip file.


14. Now select "Reboot System". If TWRP Recovery asks you to disable overwriting, allow it.  You are now rooted with TWRP custom recovery installed on your Galaxy S6/S6 Edge!


15. You will see an app called SuperSU in your app drawer. Open it and if it asks you to update binary, allow it. You can confirm that your Galaxy S6/S6 Edge is rooted by using an app like Root Checker.


FAQ: 
Q: Odin says "There is no PIT partition".
A: Use the official Samsung USB cable and change the USB port.

Q: Odin doesn't show the blue box on the left.
A: Download and install Samsung USB drivers, change the USB cable, change USB port, and if those suggestions don't work try it on a different computer. 

Q: How can I restore my phone back to stock/unroot it?

A: Simply follow this guide: How to unroot Galaxy S6 and S6 Edge.

Q: So that's it, my Galaxy S6/S6 Edge is rooted and I can now install custom ROMS and use root apps?
A: Yup, it wasn't too hard, huh? 
-----------------------------------------------------------------------------------------------------------------------------
Need Help With Your Android Device? Follow Me / Add Me / Like Me 
Twitter 
Facebook 
Google Plus
-----------------------------------------------------------------------------------------------------------------------------
Check Out Our YouTube Channel For More Great Guides! 
YouTube and Subscribe
-----------------------------------------------------------------------------------------------------------------------------
Don't Forget Our Weekly Android App Reviews!
Check Them Out, Here!

Friday, 8 May 2015

How to Root Galaxy S6 & S6 Edge without Tripping Knox! [PingPong Root]


Recently, Keen Team released a way to quickly and easily root the Samsung Galaxy S6 without tripping Samsung KNOX and without a computer! This is by far the best and easiest method to root the Galaxy S6 within just a few minutes without any cables or 5 page step-by-step guide! 
The PingPong Root tool already supports a wide variety of Galaxy S6 variants and the team is working hard to find other devices that support this method too! 

This root method will NOT wipe your phone, but backup any important information on your phone before continuing just in case something goes wrong! This method is one of the most basic and easiest methods that you will ever find to rooting your Galaxy S6, especially since no computer is required! 


Update: Now supports AT&T SM-G920A and Verizon SM-G920V Galaxy S6 variants!!

Update 2: Now supports all Galaxy S6 Edge variants too including AT&T SM-G925A and Verizon SM-G925V Galaxy S6 Edge!

Supported Galaxy S6 Models:

International SM-G920I [G920IDVU1AOD1/BN/DG]
International SM-G920F [G920FXXU1AOCV]
AT&T SM-G920A [G920AUCU1AOCE]
Verizon SM-G920V [G920VVRU1AOC3]
T-Mobile SM-G920T [G920TUVU1AOCG]
Sprint SM-G920P [G920PVPU1AOCF]
US Cellular SM-G920R4 [G920R4TYU1AOD3]

Supported Galaxy S6 Edge Models:
International SM-G925F [G925FXXU1AOD9/CV]
China SM-G9250 [G9250ZCU1AODC]
Verizon SM-G925V [G925VVRU1AOC3]
AT&T SM-G925A [G925AUCU1AOCE]
T-Mobile SM-G925T [G925TUVU1AOCG]
Sprint SM-G925P [G925PVPU1AOCF]
Canadian SM-G925W8 [G925W8VLU1AOCG]

Follow the guide below to root the Samsung Galaxy S6 using PingPong Root!


1. Go into Settings > Security > Enable "Unknown sources".


2. Download pingpongroot_beta4.apk to your phone using the download link below.

Download pingpongroot_beta4.apk

3. Locate the pingpongroot_beta2.apk on your phone, if you downloaded it directly to your phone it will be located in your "download" folder. You can use a File Manager app to navigate to the folder. 

4. Tap on the APK you downloaded and select "INSTALL" and then "OPEN". 


5. You should now be in the PingPong Root app. Select "Download Data" and then "Get root!" and if you get any permissions request, allow it.


6. Reboot your Galaxy S6.


7. You will now have an app called "Kinguser" in your app drawer. Open it at least once.


8. Your Galaxy S6 is now rooted without tripping KNOX! If you want to make sure you are rooted you can install Root Checker from the Play Store to confirm. 


Remember this method ONLY gives you root so you can use root apps like Titanium Backup, if you want to install a custom Recovery on your Galaxy S6 so you can install custom ROMS use TWRP Manager.


All credits go to Keen Team!!

-----------------------------------------------------------------------------------------------------------------------------
Need Help With Your Android Device? Follow Me / Add Me / Like Me 
Twitter 
Facebook 
Google Plus
-----------------------------------------------------------------------------------------------------------------------------
Check Out Our YouTube Channel For More Great Guides! 
YouTube and Subscribe
-----------------------------------------------------------------------------------------------------------------------------
Don't Forget Our Weekly Android App Reviews!
Check Them Out, Here!

Thursday, 18 December 2014

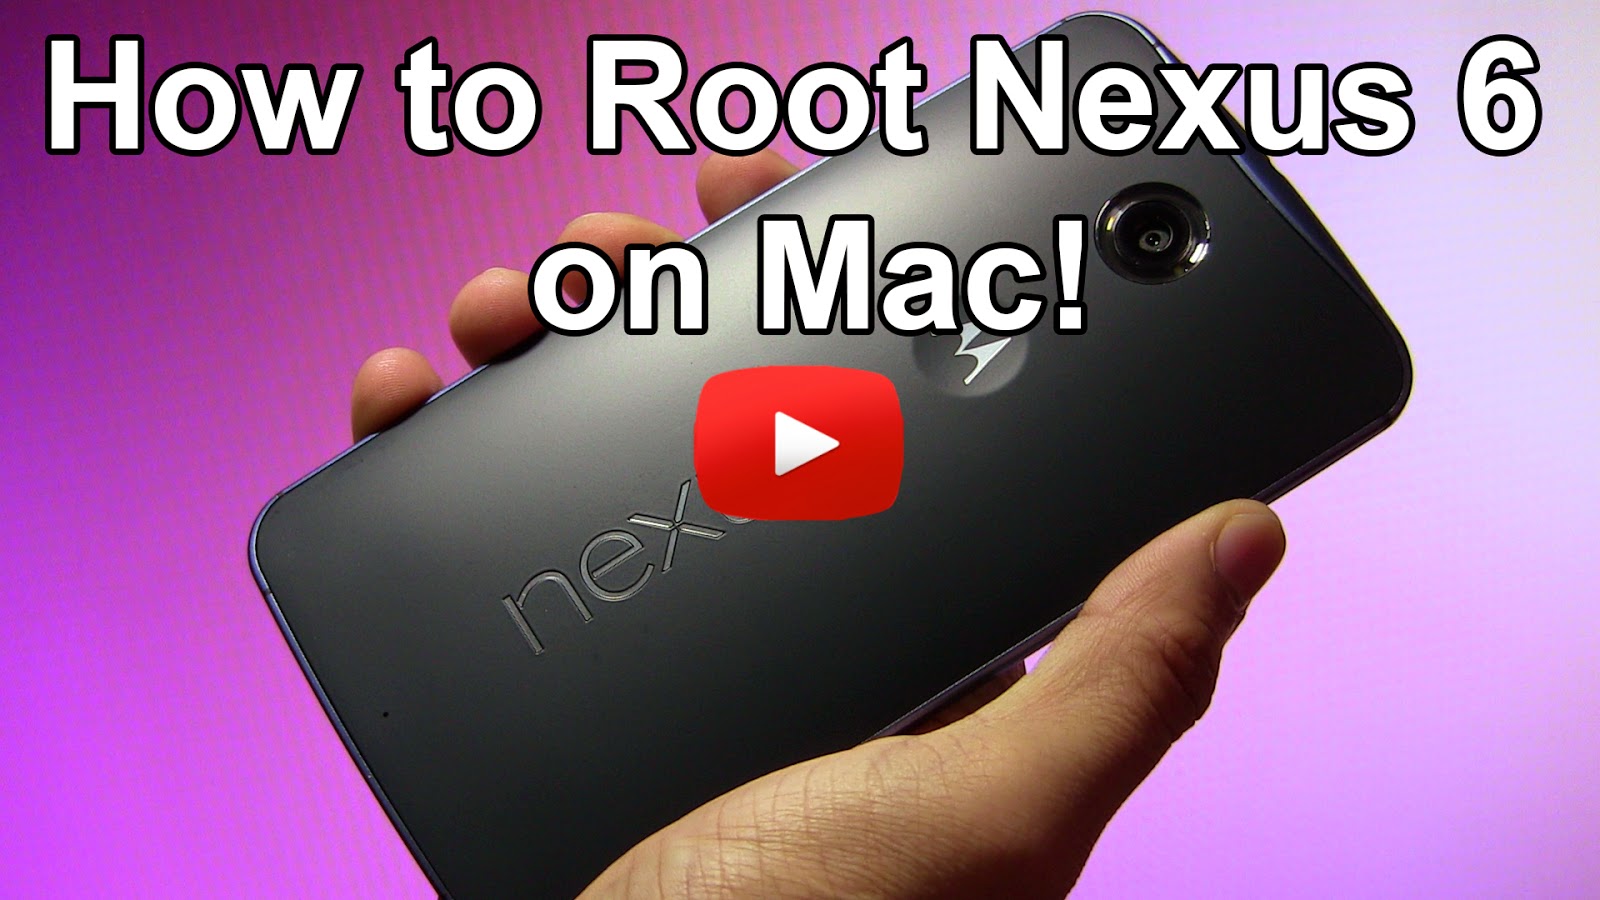
How to Root Nexus 6! [Windows/Mac/Linux/Ubuntu]

Check Out How to Root Nexus 6 on Windows Video Below!
Check Out How to Root Nexus 6 on Mac Video Below!

While Google keeps adding features that makes rooting less and less of a necessity there are still a TON of features that you can only access if you're rooted. Luckily for us rooting a Nexus 6 isn't too much of a hassle since Google doesn't mind users messing around with their device, go Google!

Rooting the Nexus 6 will open a whole new world for your Android device. You will have access to custom ROMS, MODS, and great root apps like Titanium Backup! With just a few commands your Nexus 6 will be rooted!

Warning: This will remove ALL information on your Nexus 6! Backup any important information!!

Follow the guide below to root the Nexus 6!

1. Go into Settings > About phone and tap on "Build number" 5 for 6 times until it says "You are now a developer!".


2. Press the back button once and choose "Developer options" and make sure that "Enable OEM unlock" is check marked.


3. Power off your phone.


4. Press and hold the power button and volume down button at the same time until you see a green "Start" on the screen.


5. Plug in your phone to your computer via microUSB.


6. Download and unzip RootNexus6.zip using the download link below. Move the folder to your desktop!

Download RootNexus6.zip


Skip step 7 if you're on Mac/Linux/Ubuntu!

7. Open up "Device Manager" on your Windows computer. If you see "Android USB Devices" with a yellow triangle next to it install the drivers that are included in the RootNexus6 folder. If you see "Android Single ADB Interface" in the drop down tab with no yellow triangle move to the next step.

If you don't know how to install the USB drivers Google search it!


8. Open Command Prompt on Windows or Terminal for Mac and Linux/Ubuntu computers. Type the command below and press enter after each line: 

Windows: 
cd Desktop
cd RootNexus6
fastboot oem unlock

Mac:
cd Desktop
cd RootNexus6
./fastboot-mac oem unlock

Linux/Ubuntu:
cd Desktop
cd RootNexus6
./fastboot-linux oem unlock


9. The Nexus 6 should now display "Unlock bootloader?". Select "Yes" and then press the power button.


10. Press the power button again and your device will now automatically reboot. This boot will take a few minutes since it just did a factory reset! Once it's fully booted up you can setup your phone.


11. Connect the Nexus 6 to your computer and transfer "UPDATE-SuperSU-v2.40.zip". This zip file is located in the RootNexus6 folder. 

Mac users can use Android File Transfer to transfer the zip file to the Nexus 6.


12. Enter back into Bootloader mode. Repeat steps 3-5.


If your on Mac/Linux/Ubuntu skip step 13. 

13. Open up "Device Manager" again and if you don't see "Android Single ADB Interface" repeat step 7.


14. Go back to Command Prompt or Terminal and type in this command and press enter after each line. 

Windows: 
fastboot flash recovery openrecovery-twrp-2.8.2.0-shamu.img

Mac:
./fastboot-mac flash recovery openrecovery-twrp-2.8.2.0-shamu.img

Linux/Ubuntu:
./fastboot-linux flash recovery openrecovery-twrp-2.8.2.0-shamu.img


15. We're almost done! On the Nexus 6 keep pressing the volume down until you see "Recovery mode" and then press the power button.


16. You will now see a screen with options like "Install", "Wipe", "Backup", etc. Go ahead and select "Install".


17. Scroll down and select "UPDATE-SuperSU-v2.40.zip".


18. Slide your finger to confirm the installation.


19. Now select "Reboot System" and wait until the device is done booting up. Congrats, you just rooted your Nexus 6!


If you look in your app drawer you will see an app called SuperSU. You can confirm that you have root by installing an app like Titanium Backup and see if you get Superuser request, if you do then your rooted!


FAQ:
Q: Will I be able to install custom ROMS and use root apps after I complete the guide?
A: Yes, you will be allowed to install compatible Nexus 6 custom ROMS and use root apps too! Cool, huh?

-----------------------------------------------------------------------------------------------------------------------------
Need Help With Your Android Device? Follow Me / Add Me / Like Me 
Twitter 
Facebook 
Google Plus
-----------------------------------------------------------------------------------------------------------------------------
Check Out Our YouTube Channel For More Great Guides! 
YouTube and Subscribe
-----------------------------------------------------------------------------------------------------------------------------