Advertisements.
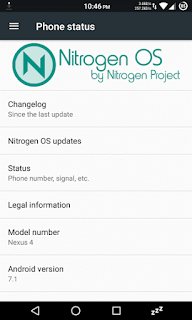
And recently we are handed with a great ROM namely NitrogenOS bringing Android 7.1 Nougat in hand plus with additional features that are not found on the official Nougat version. And the developer of the ROM opens a wide invitation for Nexus 4 users to flash his ROM to their device.
If you are here because of searching for the how to guide to bring the said custom ROM on your beloved Nexus 4 then you are at the right place. Here we will walk you through the entire processes to flash the NitrogenOS on your Nexus 4.
Preconditions and information.
- The NitrogenOS Android 7.1 Nougat is dedicated for the Nexus 4 only.
- Make sure you already installed TWRP recovery on your device.
- This ROM was made based on AOSP therefore unlock your bootloader first before proceeding.
- A computer with a USB cable are required to transfer data.
- One more thing, you also need to firstly enablee USB debugging mode of your Nexus 4.
- If your Nexus 4 battery power is less then charge it.
- Follow all the steps without you skip any steps.
- Don't forget to backup all your data before starting to follow the tutorials.
Advertisements.
How to update Nexus 4 to NitrogenOS Android 7.1 Nougat ROM
Your warranty will be voided. Perform the guides below and all the risks are yours to take.
- Download the Android 7.1 Nougat NitrogenOS Custom ROM to your PC.
- Now you need to use your USB cable to connect your device to PC. Once they're connected then transfer all the zip files to your device's SD card.
- Now power off your Nexus 4 then unplug it from USB cable.
- Now enter to the recovery mode.
- Inside the TWRP mode, perform the following action full data wipe by choosing the Wipe button -> Swipe to Factory Reset button.
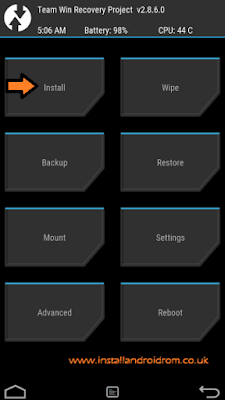
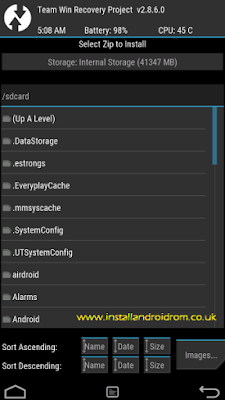
- Now back to the TWRP main menu then you need to tap the Install button. And then choose the ROM zip file you previously transferred to your device's storage on step 2.
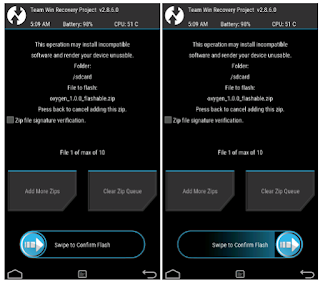
- Now confirm the installation by simply swiping the Swipe to Confirm Flash option. You will see the installation will begin.
- Now you need to tap Wipe cache/dalvik button in case you experience bootloop or other technical problem.
- Now you need to tap the Reboot System button.
- Done.
You did it my friend because you just followed the entire steps to install NitrogenOS Android 7.1 Nougat ROM on your Nexus 4. You should be happy now. And tell all your friends about this wonderful news now.


No comments:
Post a Comment